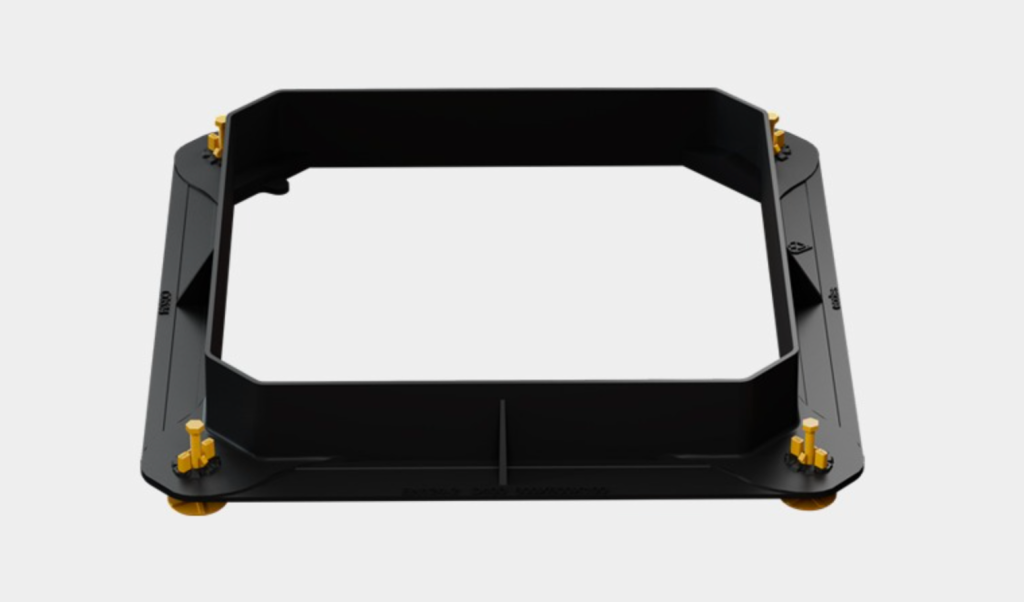
Instructions for reinstating an Elev8
Instructions for reinstating an Elev8
Carefully position the frame into place, ensuring the flange is fully supported with no bridging or overhang. Check and adjust the frame alignment to the surrounding road surface using an M16 spanner or socket set on each Elev8™ lifting point. For multiple covers or products with several Elev8™ lifting points, start with the corners and then work inwards. Recheck alignment with the road surface both longitudinally and transversally to ensure the cover and frame are level with any road camber or gradient. With the Elev8™ in situ within the frame, there will be a minimum 15mm gap between the cover and chamber top. To prevent ingress of flowable mortar into the chamber, create a dam with a suitable mortar (in line with bedding manufacturer specifications) between the chamber face and the bottom of the frame and allow it to set.
Mix the flowable bedding mortar in accordance with the manufacturer's instructions using a mechanical mixer. Immediately after mixing, pour the flowable material in a controlled manner from the side of the excavation. Allow the mortar to flow beneath the frame, ensuring all voids are completely filled around the perimeter. Continue mixing and pouring until the mortar encapsulates the frame and reaches the Elev8™ horizontal fill line indicated on the top face of the Elev8™ body. Allow the mortar to cure in accordance with the manufacturer's instructions.
The final layer of bedding mortar should be compacted and not trowelled smooth. A brushed finish should be applied to provide sufficient texture and mechanical key for subsequent road-fill materials.
Before backfilling with proprietary road fill materials, heavily coat the outside face of the frame and the inside face of the road surface with a suitable bitumen-based cold joint sealer and ensure that the bedding mortar has cured.
Install the remaining road fill and wearing course/pavement materials.
If using flowable materials such as concrete, form a barrier over any hinge apertures to prevent ingress of surfacing material.
Take care not to disturb the frame, particularly where mechanical equipment is employed.
Apply overbanding to the join between the new surfacing material and the existing surface.
Ensure any saw cuts extending beyond the reinstated area are covered in accordance with the manufacturer's instructions.
Where the final wearing course is to be installed at a later date, apply a ramp around the projecting frame to ensure public safety and protect the frame from impact.
This guidance is provided by Eccles in good faith and is believed to be accurate at the time of publication, representing recommended best practice for the Elev8™ levelling system.
Eccles accepts no liability for any loss or damage arising from its use, including where legislation, standards, or specifications may have changed. It remains the responsibility of the installer to ensure compliance with all current regulations and project requirements.
As part of our policy of continual development, product designs, sizes, descriptions, and recommendations may change without notice. For the latest information or any queries, please contact Eccles directly.
Fill in this quick form and one of our industry experts will be in touch.
ECCLES (UK FOUNDRIES FE) LTD STANDARD TERMS AND CONDITIONS OF SALE APPLY TO ALL SALES OF GOODS AND/OR SERVICES BY ECCLES (UK FOUNDRIES FE) LTD (TO THE EXCLUSION OF ANY OTHER TERMS), A COPY OF WHICH ARE AVAILABLE HERE.